
This is a multi-part article which describes how to build a provisioning system for allowed domains. In the first part we will start building our provisioning system by building the fundamentals first.
Within Teams it is possible to communicate with external companies, this is also known as federation. Federation can be either configured as open or closed federation. In case of open federation your users are able to to communicate with all external users (assuming those companies also allow federation). When using closed federation users can only communicate with users from domains which are part of the allowed domain list.
In most cases this requires some kind of approval either from a manager or sometimes even the legal department. This due to the fact that when allowing federation users are able to exchange information with other companies which might not be allowed in some scenarios.
So what will the provisioning do:
- allow users to submit a new allowed domain
- contain an approval process to allow someone within your organization to approve or reject a request
- add the domain to the allowed domain list in Teams
Now we know what we want to build let’s have a look which tools we are going to use to build the solution. To allow users to submit a new request we will build a PowerApp which stores requests in a SharePoint list.
Once entries are created we use Microsoft Flow to pickup those entries and start the approval process. If a request is approved the Flow will continue and will start an Azure Runbook to perform some validation tests and add the domain to the allowed domain list.
Our journey starts on SharePoint Online. To store the results we are going to use a list. You can either create a complete site from scratch and add a list to it or use an existing site and add a list.
In our case we are going to use an existing SharePoint site and add a List. To do this perform the following steps:
- Browse to the SharePoint site
- Select New and from the menu select List
- Provide a name for the SharePoint list, for example FederationAllowedDomains
- From the left menu select Site contents and locate the list created earlier
- Select the dots next to the list and select Settings
- This will bring us to a new page which allows us to add additional columns
- Browse to the Columns part and click on the Title column
- Rename the column to DomainName
- On the bottom part of the Columns section locate the Create column option
- Add the following columns:
| Columname | Type |
|---|---|
| Requestor | single line of text |
| DateApproved | date and time |
| BusinessJustification | multipe lines of text |
| DomainValidated | Yes/No |
| DomainDNSRecordValidated | Yes/No |
| proxyfqdn | single line of text |
| Status | single line of text |
- Once all columns have been added select Site contents from the left menu. Once the content site content has been loaded open the list just created
Now we’ve created the list the next step is to create create the Flow.
To start this task select the Flow button from the menu followed by Create a flow. Once pressed this will open a new menu on the right side of the screen which contains templates which can be used as a good startpoint.
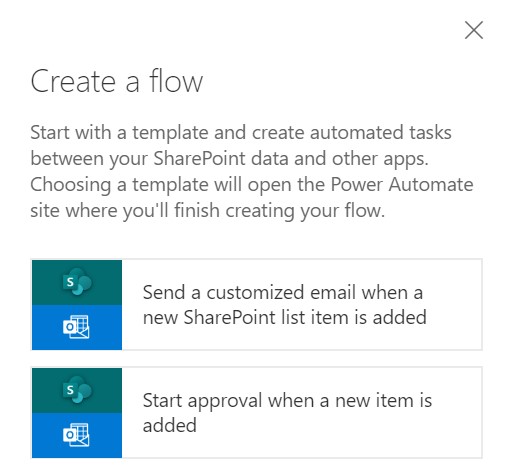 As described already we want to create an approval flow. One of the templates available is the Start approval when a new item is added. Select this option from the menu and wait till the Microsoft Flow website has loaded.
Continue with the steps below to complete the creation of the flow:
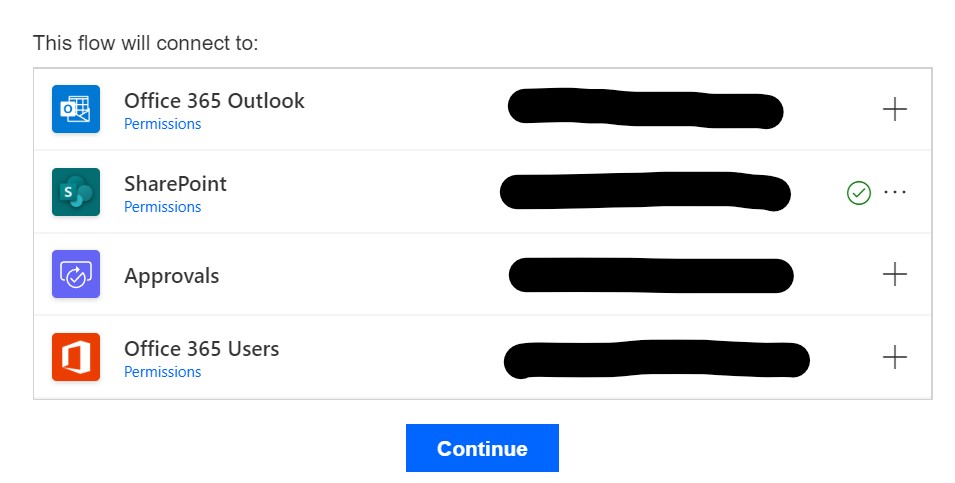
- In the This flow will connect to section make sure a green checkmark is listed behind each item. If not select the + sign.
- Repeat this step for item until all lines have a green checkmark and click continue
Remark: this account will also be displayed as the from address of the approval mail
If we want all approvals to be send to a one or more users in the environment perform the following step:
- In the Start an approval block add a user who will be responsible for approving every request to the Assigned To. If you want the approval request to be send to more users simply add an additional user.
In case you want to send the approval to the manager of the requestor perform the following steps instead of the previous step:
- Insert a Get Manager (v2) block after the When a new item is created block
- In the Get Manager (v2) block add the Created By Email from the list
- In the Start an approval add the Mail item to the Assigned To field
Here end the first part of the multi-part article on how to create a provisioning system for allowed domains in Teams. In this part we started with creating a SharePoint list which will be used to store the requests and made a start creating the approval flow.
In the next part we will continue our work on the flow and will implement the Azure Runbook to configure the allowed domain in Teams.
Comments
