
This tutorial will explain how you can create users via Powershell.
The first thing we need to do is start Exchange Management Shell, you will find it in the startmenu under Microsoft Exchange Server 2007.
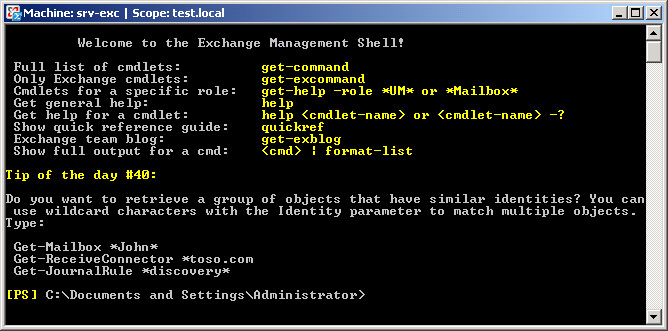
As you can see above there are a few commands displayed for example a command is displayed to display the help functionality. There is also a nice joke build in the Exchange 2007 Powershell, when you type in get-exblog it opens Internet Explorer with the Exchange 2007 Community.
The next step is the command we will need to create the user, it will look something like the following:
New-Mailbox -Alias <alias> -Name <name> -Database <Database name> -OrganizationalUnit <OU name> -UserPrincipalName <UPN value>
When you execute this command there are a few parameters which are needed:
- alias
- name
- database
- organizationalunit
- userprincipalname
Below an example, this command will create a user johan with an UPN johan@test.local in the OU utrecht in the database mailbox store.
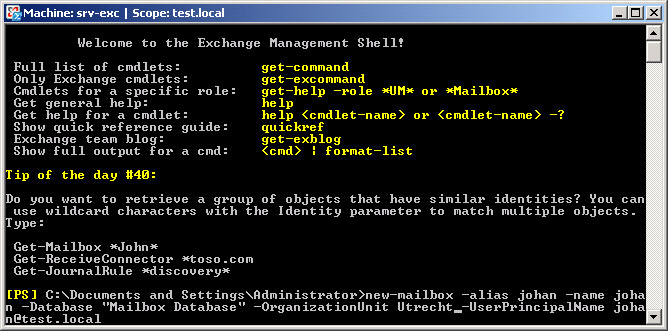
When you execute the command there is one thing missing, the password, Powershell will ask you for it.

When you typed in a password the user will be created and the the result will be like the screen below:

Of course there are more possibilities, the user we just created doesn’t get assigned managed folders. By adding the parameter -ManagedFolderMailboxPolicy <name policy> the user will be assigned this policy and will get managed folders. There are a few other parameters:
- ActiveSyncMailboxPolicy
- ResetPasswordOnNextLogon
- WhatIf
Especially the last command is interesting if you are not sure what you are doing. This parameter will execute the command but not for real. The result will be displayed after it did the test run, if the result is OK you can remove the WhatIf and run it for real.
Comments
