Autodiscover, a really nice feature of Exchange but it can cause headaches. When implementing it in a multiforest environment you will have to take care of some extra things. In this tutorial I will explain which steps are needed and will let you see what goes wrong when it is not configured correctly.
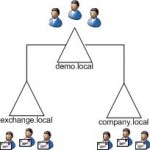
Below a forest overview of the forests in my test environment:
In this environment the following forests have been created:
- demo.local, the user forest. In this forests all user accounts will be created, this forest will contain a domaincontroller.
- exchange.local, one of the Exchange resource forests. This forest contains an Exchange server with the HUB, CAS and mailbox role installed, besides this it's the domaincontroller for this forest.
- company.local, the other Exchange resource forest. This forest also contains an Exchange server with the HUB, CAS and mailbox role installed and also will function as a domaincontroller for this forest.
OK now what do we want to achieve. The useraccounts will be created in the demo.local forest. All users will be placed in seperate OU’s per Exchange resource forest. The next step will be to create the linked mailboxes in the resource forests. These forests will contain user accounts but all accounts will be disabled. Users will login to the demo.local domain and will configure their Outlook using autodiscover.
The steps to install a domain controller and install Exchange will be skipped, and I will assume that you have 3 forests containing the earlier mentioned servers including the domain controller and Exchange roles.
First we will create the trust between the forests. Before we can setup the trust we need to ensure that DNS records can be resolved correctly. This can be done by creating a forwarder to the DNS server responsible for the domain. So the DNS server in the user forest will contain a forwarder to the DNS server in the resource forest and vice versa.
Next step is to create the trust, this can be done via netdom command:
Netdom trust trusted_domain_name /domain: trusting_domain_name /verify
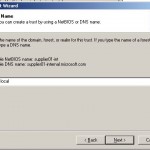
Or via Active Directory Domains and Trusts, this can be done via the wizard:
Specify the name of the user forest.
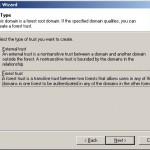
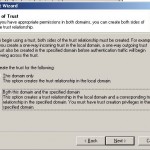
In the next step you will specify the type of trust you want to create, in this case a forest trust.
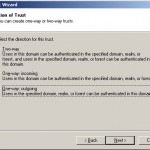
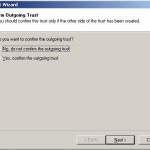
Then we will define that the trust only needs to be an outgoing trust, this because users from the user forest only need to authenticate in the resource forest and not vice versa.
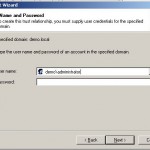
As an option you can also arrange that the trust will be created in both forests, for this you will need to specify an account with enough permissions.
Once specified click on next
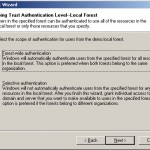
One of the lasts steps is choosing between forest-wide or selective authentication. With this we can configure if the complete forest gets access to the resource forest of that this will need to be configured per user.
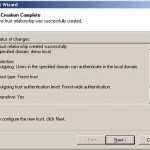
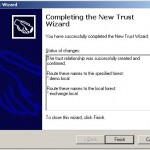
After a short overview you must click on next to create the trust and the following screen will be displayed.
If you like you can perform an extra check.
After the test is performed the test results will be displayed.
Before we will continue with the next steps we need to create the user in the user forest. This can be done via Active Directory Users & Computers and can be a standard user. When the user is created we can create the linked mailbox, for this we need to open the Exchange Management Console or Exchange Management Shell.
For creating the linked mailbox via a commandline execute the following command:
New-Mailbox -Database "Mailbox Database" -Name "Demo User" -LinkedDomainController "dc.demo.local" -LinkedMasterAccount demo\demouser -OrganizationalUnit Exchange\Users -UserPrincipalName </em><em><a href="mailto:demouser@exchange.local">demouser@exchange.local</a></em><em>-LinkedCredential:(Get-Credential demo\administrator)
Or using the GUI, once opened go to recipient configuration and select the mailbox item.
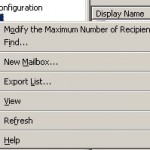
Rightclick on the mailbox item and choose the option new mailbox.
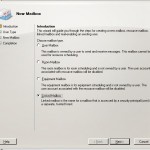
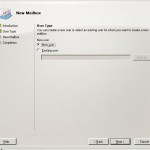
A wizard will be opened.
Choose the option linked mailbox and click the next button.
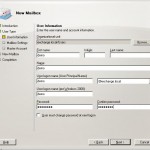
After this you have the option to select an existing user or create a new user, keep in mind that this will be in the resource forest and not in the user forest.
Fill in the required fields and press next to continue.
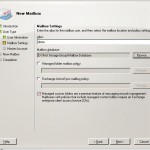
Select the database where you want to create the mailbox of the user and select an activesync and managed folder policy for this user if you like.
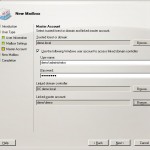
In the next screen we will select the master account to which the mailbox will be need to assigned, this will be a user in the user forest. You can easily select the user by pressing on the browse button. When you have selected the user press next to continue.
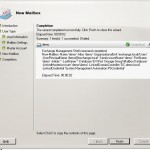
A short overview will be displayed and when pressing next again the user and mailbox will be created.
As you can see in the screen above the user and mailbox have been created successfully.
When the mailbox is created we can perform some tests, this tests will not succeed as the user forest will not know anything about the autodiscover functionality in the resource forest.
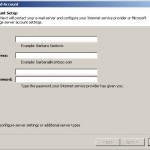
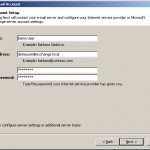
First we will start Outlook and the following screen will be displayed.
We will fill in all the required information and press next to continue.
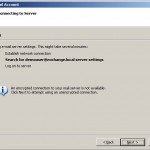
After several seconds Outlook will display a message that it can’t setup a secure connection and that you will have the option to setup an unsecure connection, click on next to try this.
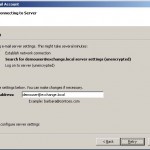
This will also not succeed and Outlook tells you to verify the information. In this case we are 100% sure that the specified information is correct so why does Outlook will display the error.
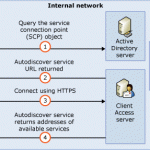
This is what a client does when using the autodiscover functionality from the LAN:
As you can see a query is done for a Service Connection Point (SCP), this object can be found in the configuration partition of the Active Directory which does not exist in the user forest.
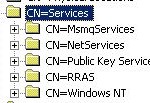
To doublecheck this we will need to open adsiedit on a domain controller in the user forest. Once opened open the configuration partition and go to:
CN=Services, CN=Configuration, CN=domain, CN=local
To create the SCP in the user forest we will need to execute the following command on the Exchange server in the resource forest:
Export-AutoDiscoverConfig -DomainController DomainControllerName -TargetForestDomainController TargetForestDomainControllerName -MultipleExchangeDeployments $true
I think the parameters are clear enough but maybe the last one will need some additional information. When the parameter MultipleExchangeDeployments is set to TRUE you will tell the forests that you have multiple Exchange forests. Not really exciting you may think but it is. The parameter will also export the accepted domains which are defined in the Exchange environment. When adding an extra accepted domain you will need to execute this command again to update the SCP object.
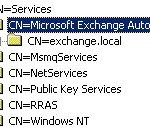
When you have a look with adsiedit again on the domain controller in the user forest you will see that the object for the autodiscover service has been created.
Per Exchange forest a folder will be created, in our case exchange.local and company.local.
When you will get the properties of the folder and have a look at the values of keywords and serviceBindingInformation you will see that it points to the resource forest. The keyword attribute contains the Active Directory Site of the site from which the CAS is a member. The serviceBindingInformation attribute contains the FQDN of the CAS server in the following format https://ex.exchange.local/autodiscover/autodiscover.xml. When the replication has succeeded between the user forest and the resource forest it’s time to try it again so we will start Outlook.
We will fill in the required info and will press next
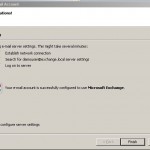
As you can see above the automatic configuration of Outlook has succeeded and we can use Outlook to confirm this.
Interesting links:
MsExchange Team: Configuration Tips and common troubleshooting steps for multiple forest deployment of Autodiscover service open Technet: White Paper: Exchange 2007 Autodiscover Service open Technet: How to create a linked mailbox open
