
In this tutorial I will explain how you can configure the UM option in Exchange. In this tutorial I assume that you already have installed the UM functionality.
Configuring the UM functionality can be done in two ways:
- via the Exchange Management Console
- via the Exchange Management Shell
In this tutorial we will use the Exchange Management Console to configure the UM options
First we start the Exchange Management Console and open the option Organization Configuration.
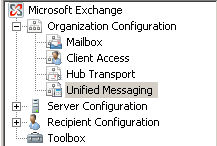
Below this you will find 4 sub menu’s:
- mailbox
- client access
- hub transport
- unified messaging
The last of the 4 we need, this because we would like to configure the UM functionality. When you click on it the middle piece of the MMC changes and will get 4 tabs.
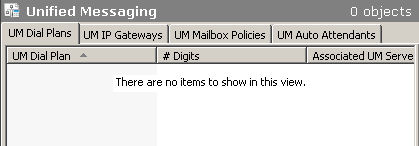
The first tab is named UM Dial Plans; configuring starts here. In the right side of the screen a menu is displayed, click on New UM Dial Plan, the following window will be opened:
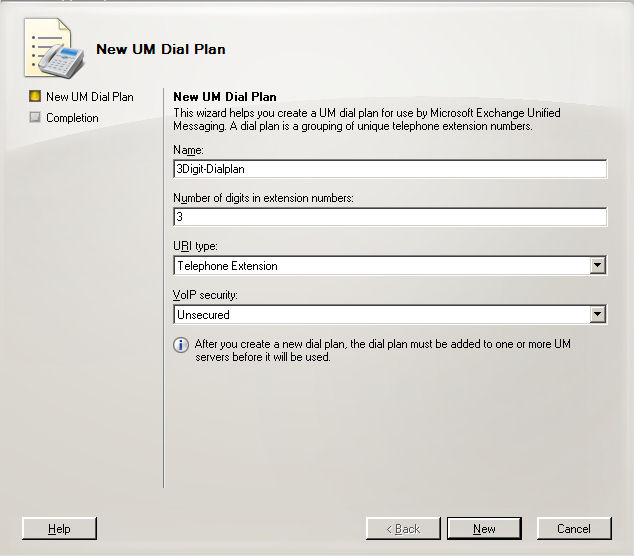
As you can see above the window contains four fields. All the fields need to be filled in:
- name: give a name of the dial plan
- number of digits in extension numbers: fill in the amount of digits that you want to use for the extension.
- URI type: in this case we select telephone extension
- VoIP Security: in this case unsecured, when you want to use TLS you will have to use secured
When all fields are filled in click on new to create the dial plan. When the dial plan is created you will see it when you select the tab UM Dial Plans:
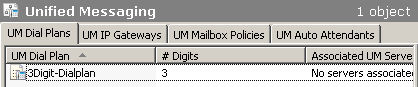
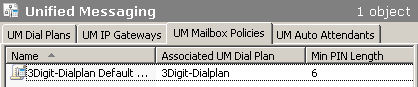
When you select the UM Mailbox Policies tab you can see that there is a policy created with the name name of the numberplan-default. When you create a dial plan there will also be a default policy created. In this policy several things are specified: minimum pin length, how long may the voicemail message be and a lot of other options. This can be used to create separate policies for different users. For example you can give user A a shorter voicemail text then user B.
The next step will be to define the IP gateway, this is the device where all incoming calls are arriving at the Exchange server and via which all outgoing calls leave the Exchange server. By pressing New UM IP Gateway in the right menu you will get the following window:
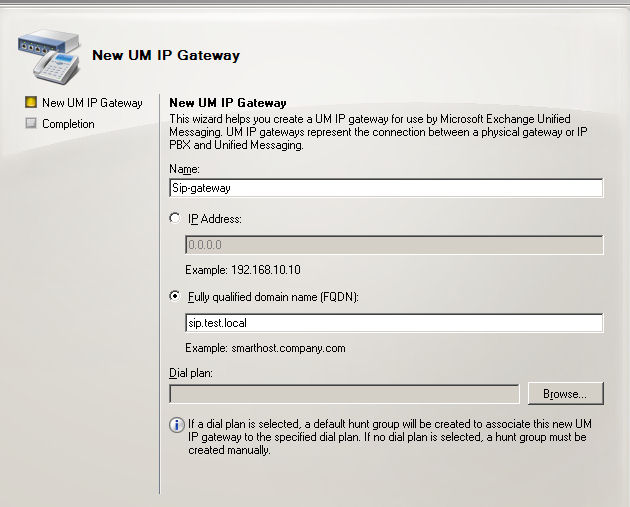
In this windows we need to specify the following:
- name: name of the IP Gateway
- IP Address/FQDN: IP-address or fully qualified domainname of the IP Gateway
When this two fields are filled in you can assign the created dial plan to the IP Gateway. When doing this a hunt group will be created for the specific gateway. When you do not select a dial plan then you need to create the hunt group manually. When the wizard is finished you will have the following address:
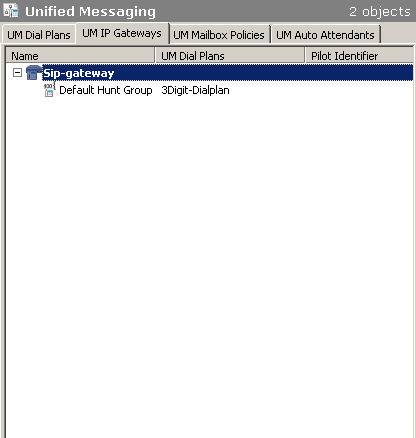
You can see that it exists of 2 levels:
- IP gateway
- default hunt group
The hunt group arranges that the IP Gateway and the dial plan can communicate with each other. When creating the hunt group manually you will need to manually assign a pilot number to it. In the following example I will try to explain why this is needed:
If you create a hunt group with the following numbers: 301, 302, 303, 304 where 301 is the hunt group. When 301 is called the hunt group will arrange that the call will be transferred to the first number who is free.
The final step is to create an auto attendant. With this feature we can arrange that people who call will here a standard text or will get a menu from which they have to choose, for example reaching a specific department.
Go to the tab auto attendant and press New UM Auto Attendant in the right menu, you will get the following window:
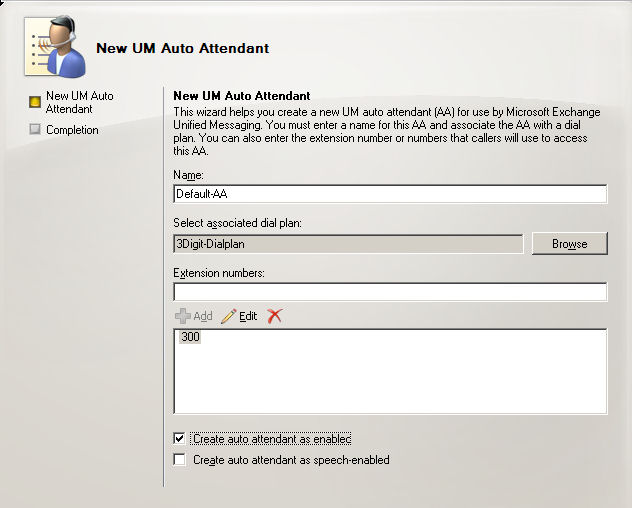
We will need to fill in thw following fields:
name: naam van de auto attendant
- associated dial plan: select to which dial plan you want to assign the auto attendant
- extension numbers: add the extensions that you want to use for the auto attendant
- create auto attendant as enabled: will enable the auto attendant immediately after creating it.
- create auto attendant as voice enabled: will enable the auto attendent for voice support (with this option you can give commands by talking to the auto attendant)
The latest step is assigning the dial plan to the server, follow the next steps to complete the configuration:
- open server configuration
- choose Unified Messaging
- open the properties of the server
- click the UM Settings tab
- click the Add button
- add the dial plan.
When you have done all steps you will have a working Exchange UM environment, if the PBX, etc is/are configured OK. If you don’t have this you can also try the UM options via the Exchange UMTestPhone. You will find a tutorial on this website about it.
Comments
