In Exchange 2007 there are a lot of new features which are designed for message retention:</p>
- Managed Default Folders
- Managed Custom Folders
- Managed Folder Mailbox Policies
Not all features will work in all Outlook versions, some features will only work in Outlook 2003 SP2 or higher and there are a few that only work in Outlook 2007. For a complete overview have a look at the following site.
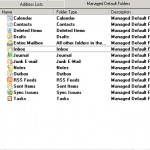
First the tab Managed Default Folders, in the first sight you may say he this are the default folders a user will get in his mailbox. In this case this isn't true, this are the parameters which are used to specify the settings you would like to apply on the standard Outlook folders (inbox, outbox, sent items, etc.). For example it's possible to add a second mailbox to the Managed Default Folders with a longer retention time.
In previous versions of Exchange you could arrange the automatic delection of deleted items by using Recipient Policies. With all the new laws (especially in the USA) it may be needed to keep mails for a longer time. But doing this manually is a lot of work so why don't let Exchange do it for you. With the Managed Content Settings you can setup things like:
- move items to deleted items after a specified period
- move items to an other folder which is created by Managed Custom Folders
- delete items but keep the possibility to recover them
- permanent delete items
- mark items when the retention time has expired
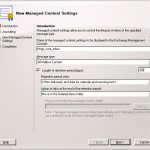
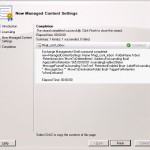
But how do we configure this, it's not really hard to do this. You click with your right mouse button on the folder or you choose the option entire mailbox to create one setting that will be applied to the complete mailbox. Next we select the option New Managed Content Settings, you will get the following screen:
I think all field descriptions are clear enough but here's a short overview:
- name, name of the Managed Content setting
- message type, on which items does this setting need to be applied.
- length of retention period, this field needs to be enabled to specify the other settings. When you only would to enable journaling we don't have to enable this option. In the field after this field we can specify the amount of days an item need to be kept.
- retention period starts, when Exhange checks the items if their retention time is expired what is the start date. This can be the date the item arrives at the mailbox or the date that the item is placed in a specific folder.
- action to take at the end of the retention period, what needs to be done after the retention time expires.
- move to the following managed custom folder, this field can only be filled in when the option in the previous version is set to move to a managed custom folder
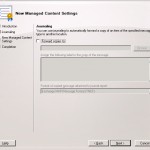
When all fields are filled in we click on next and we get the option to enable journaling
With journaling we can arrange that from each item in the folder a copy is forwarded to an apart email address. With this we have the option to still have a copy of the message when it is deleted from the original mailbox. This mailbox is in most times not accesible for standard users but for example only accessible for managers.
By placing a checkmark before Forward copies to and select a mailbox which the messages need to be forwarded to we can configure journaling. Besides these two options we can fill in which file-type the original message should have when attached to the journaling message.
When all settings are the way you like click on new
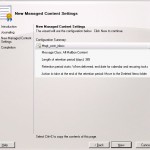
When all settings are applied with success you will get the following screen:
As you can see all settings are applied succesfully and we get a short overview of which Powershell command is used to do this.
When we look at the overview of folders we will see a + in front of the folder we just created the Managed Content Setting for. When clicking on it you will see the name of it.
As said earlier all the names on this tab are just parameters and not the folders itself. Lets create an other folder with a longer retention time for example for the mailbox for the management.
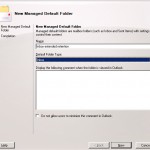
We could do this by creating a new Managed Default Folder. This can be done via the menu and selecting the option New Managed Default Folder or right click somewhere in the white space of the tab.
In the screenshot above we can specify the following:
- name, name of the parameter
- default folder type, which type need this parameter to be
- display the following comment when the folder is viewed in Outlook, with this option we will display a message.warning to a user. For example we can display the retention time that is active on this folder.
- do not allow the users to minimize this comment in Outlook, with this option we can prevent that users minimize this message/warning
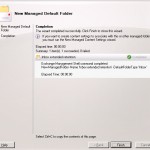
When ready click on the next button to create the new parameter, when this has successfully been completed you will see the following screen:
When we now have a look at the overview if the tab Managed Default Folders we see the new parameter between the other parameters:
The next tab that we discuss is the Managed Custom Folders with this we can create an extra folder that we want to add to a users mailbox. This folder will not be created in each mailbox but only to mailboxes from users where the policy has been applied to.
A new folder can be created by:
- right click in a white part of the tab and select New Managed Custom Folders
- in the menu in the right side of the screen select New Managed Customer Folder
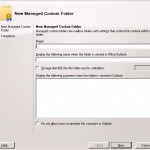
When we select this option we will get the following screen:
Below a description of the fields:
- name, name of the new folder
- displayed the following name when the folder is viewed in Office Outlook, the name that is displayed in Outlook
- storage limit (in KB) for this folders and its subfolders, the maximum size of the folder and it's sub-folders.
- display the following comment when the folder is viewed in Outlook, with this option we will display a message.warning to a user. For example we can display the retention time that is active on this folder.
- do not allow the users to minimize this comment in Outlook, with this option we can prevent that users minimize this message/warning
- managed folder mailbox policy name, name of the policy
- specify the managed folders that you want to link to this policy, with this option we can add folders:
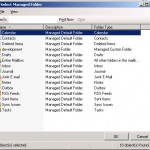 This makes it possible to add multiple folders to a mailbox from a user. By pressing the add button we can add a folder to this policy. Besides the custom we can also add the default folders to a user.
 - managed folder mailbox policy, here we select the policy which we want to apply to the user
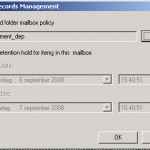
- enable retention hold for items in this mailbox, with this option we can exclude the mailbox from a user for a specified time
</em></ul>
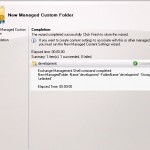
When all fields are filled in we click on the next button, the folder is created and after it has been created you will see the following screenshot:
Next we can click on finish to close the screen. We can now see the new item we just created
When you would like to create Managed Content Settings you can follow the steps as described by the Managed Default Folders.
Now we have created the Custom Folder we need to create a Managed Folder Mailbox Policy to add it to the users mailbox. You can apply only one policy per user, but the policy can contain multiple folders.
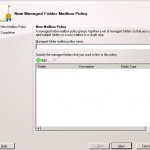
In the right menu select the option New Managed Folder Mailbox Policy to start creating a new policy.
As you can see above we need to fill in some fields:
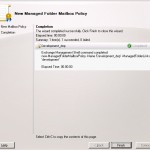
After completing all settings you can click on the next button. We will see the following screenshot then:
After completing this step there's only one thing to do, assign the policy to a user.
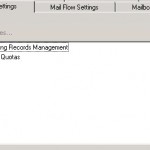
When we would like to assign it to an existing user we first get the properties of the user and then select the Mailbox Settings tab. As warned on the bottom of the tab you will need an Exchange Enterprise Cal to use Messaging Records Managment.
Next we select Messaging Records Management and click the button properties.
You can specify a few things here:
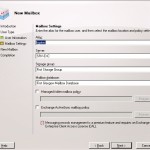
When you want to assign a policy to a new user you will find the Managed Folder Mailbox Policy on the screen of the 4th step:
By placing a checkmark before Managed Folder Mailbox Policy and select the policy we can assign it to a user directly.
When you compare the options to the ones that were available in Exchange 2003 you will find out that it are a lot of more options. Keep in mind when implementing this it will have an effect on the storage capacity you will need to have available.
